Maps are in virtually any app or portal we use on a day-to-day basis. SQL server consumers have utilized this feature since the 2008 version of the database product, exposing the data via various custom interfaces. Maps have finally been integrated in SharePoint’s 2013 online and on-premises versions, and it is relatively easy (and code-free!) to collect or view geographical information.
Microsoft introduces a new type of list field named “geography” which allows you to add a longitude and latitude to your records. Lists that capture office information, delivery locations or even employee directories for multi-state or global companies can have this type of field added. Once the information is in, a simple Bing map view will allow users to look at geographical representations of their data.
However, currently, this feature is hidden in both Office 365 and SharePoint 2013.
For on-premises installations, your admin needs to run an executable available on the Microsoft site (SQLSysClrTypes.msi).
For Office 365, there are a couple of steps you need to execute to enjoy this exciting new feature:
- Register with Bing maps to get a key for your map views

- Add a new field of type, “geography” to the list

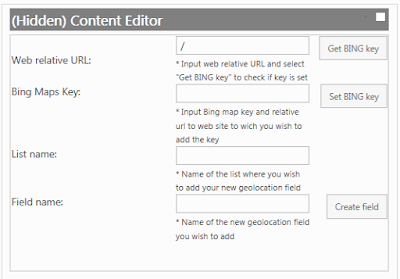
- Since this type is hidden, you can use PowerShell or JavaScript to create it (Reference this script)
The script creates a friendly input form that you can even leave hidden on the page for future use
- Make sure you specify the Bing maps key in the textbox
- Create a new view of type, “Map view”

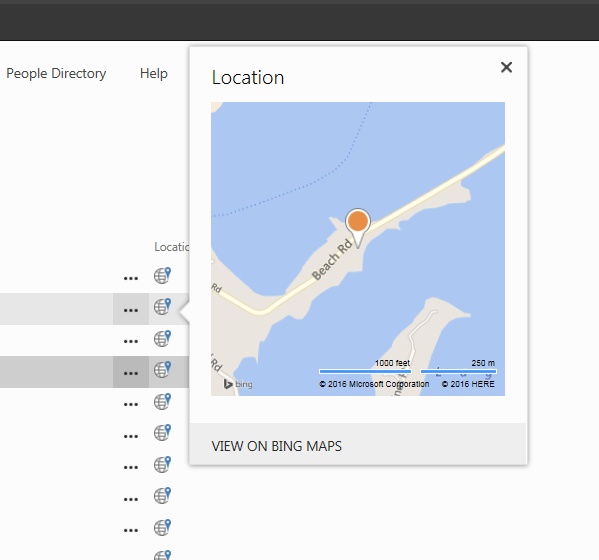
If you have performed the steps above successfully, you should be able to see a full map with all locations on it, like on the screenshot below!
“Let me show you what that looks like on our 365 tenant!” Many of us in consulting, whether sales, client managers or developers have said these words in the past years when talking to various clients.
There is infinite power behind being able to immediately show a business stakeholder what something would, “look like.” As interest in Office 365 has become viral, so has the number of accounts and tenant URL’s we need to be able to manage. Typing in credentials every single time we switch from one tenant to another simply isn’t scalable in our line of work.
Confronted with over four different client test tenants as well as our own internal one, I decided to make things easier and looked into browser profiles. As it turns out, Chrome happens to allow you to create several user profiles on the same work laptop. These profiles store cookies and other settings for you so you can easily launch several browser instances in parallel, each under a different profile.
I am now able to quickly switch from debugging something for a client to demo-ing an app I have on my own tenant. I can do this without logging out and back in or the browser getting confused about my credentials. I now have a browser shortcut on my desktop for each one of our clients – and these shortcuts allow me to directly navigate to each specific tenant and automatically log in.
How to set this up:
Open up Chrome and go to Settings. In the, “People,” section add a new person. For example, this is how I added, “My Awesome Client:”
Click the desktop shortcut and you can proceed to log and, “keep me logged in,” on the Microsoft login page. In the browser settings, make sure you set your target tenant as the home page.
Now, going forward, every time you will use this shortcut, not only will you be able to quickly identify via icons which browser windows you already have in use, but you will also completely remove the consecutive log outs and ins.
Google Chrome is my best bet for this functionality. Firefox offers it as well, but takes a bit more effort to configure. For now, IE only allows for, “new session,” tabs – a subset of this functionality.
The only downside to this approach is that other tools such as Visual Studio or SharePoint Designer still work in conjunction with IE and expect you to be logged in there. But for the majority of our work, this is tremendous help!


